In this series of articles, I show you exactly how I’m learning foreign languages every day.
In these articles I talk about how I’m using my Core Study Time – a 30-45 minute period at the start of every day which I set aside for intensive study.
Before you read this, you should go back and check out the previous posts in the series:
The dialogue. The foundation of every language textbook, website and podcast. Whatever resource you've been using to study a language, chances are it's built around dialogues:
A discussion between two or more people or groups, especially one directed towards exploration of a particular subject or resolution of a problem.
Why are we so keen on dialogues? We like them because they represent what most of us are ultimately aiming for: speaking with others in a foreign language.
If we want to be able to speak, then it makes sense that we use actual conversations to learn from.
When I'm not speaking a foreign language, I'm probably studying a dialogue from a textbook.
For me, and many other language learners, natural language dialogue is a staple part of language study.
Why Study With Dialogues?
Because they show you language in use. This is also why I learn through stories as you see language in context, including dialogues.
Whatever the quality of the teaching methodology (grammar explanations etc), if you have nothing other than the recorded conversations between two people, then you have everything you need!
So what's the best way to study language dialogue?
Do you just read them? Or listen to them?
How many times?
And what if you don't remember the new words later?
Well, herein lies the problem! It's difficult to know whether what you're doing is actually working – i.e. whether the time you're spending on these dialogues ends up helping you speak your target language more fluently.
After many years (and many thousands of dialogues in 9 different languages), I've developed a pretty robust process for maximising my learning from dialogues.
Quality…Or Not?
The quality of dialogues in text books varies enormously, and it's important that as learners we understand exactly what we expect to get from each dialogue in the book.
In the early stages of learning we need some very simple dialogues in order to learn the most basic vocabulary in the language.
Hello, John!
Hi, Peter! How are you?
Fine, thanks. And you?
Not bad.
This particular example (basic greetings) might be the basis for the entire first lesson in a book, and we can continue like this, building up words and phrases as we go.
A dialogue in a later lesson might look something like this (possessives):
Is this John's pen?
No, it isn't. It's my pen.
Is this my book?
No it isn't. It's Peter's book.
What's happening here is that the text book writers want to introduce more complicated grammar and construct a dialogue in order to showcase it.
The problem is that, as more complicated language gets introduced, the dialogues have a tendency to become more unnatural. Look at the last example. Can you imagine this conversation ever actually taking place in real life?
We need to avoid this stuff and move on to longer, more life-like examples.
The Reality Of Model Dialogues
I had this experience during my Cantonese mission. I'd been working diligently through the beginner and upper-beginner lessons on CantoneseClass101.com. They're pretty good, overall, but the problem for me was they were too short.
They were designed to teach a set of new words, and so there was a relatively long lesson (including exercises, vocabulary, grammar sections etc.) based around only 6 short lines of text.
So for each hour or so I was studying, I was only ever listening to the same 6 lines of a conversation.
That's a lot of time for not very much input. And input is a key element of the StoryLearning® method – in this case the input comes through stories, which are fun to read, much more so than textbook dialogues!
I decided to skip the remaining lessons of the upper-beginner course and throw myself directly into the intermediate level lessons.
It was the best decision I'd made in a long time.
The dialogues were longer, harder and contained more unknown words. But – and this is the key – they contained a lot more natural language: the “so, um, ah, well, err, then” which characterises natural English.
I'd much rather spend my time studying more realistic dialogues that are characteristic of how people actually speak.
4 Stages For Studying Dialogues
I've divided the process into four stages:
Challenge
Comprehension
Processing
Ownership
These four stages take you from the very first time you press “play” on the recording, to the point where you have learnt, and can use, all the new words and phrases from the dialogue.
Stage 1: Challenge
When you first listen to new dialogue, you've got a small window of opportunity that quickly closes.
That opportunity is to practise your listening skills on something you've never heard before.
As soon as you start studying the contents of the dialogue, you're no longer testing your listening skills, because you know what's coming!
For this reason, you should spend time listening to the audio recording of the dialogue before you start the study process.
Listen to the audio many times over. Start by trying to understand the broader meaning of the conversation. Then listen with increasing focus, eventually trying to pick out every word as accurately as possible.
In most cases, this will be pretty hard.
But that's ok.
The more you push yourself, the more you'll learn.
When you simply can't get any further, or begin to grow frustrated, it's time to move on.
Time Spent On This: 1 day
Step 2: Comprehension
Having pushed your listening skills, now you can begin to close the gap between what you could and couldn't understand.
This happens bit by bit.
Open the dialogues textbook and read along as you listen. Do this many times.
This isn't about studying yet, it's about gradually adding some support to the process of understanding.
Once again, listen and read repeatedly, filling in as many gaps as possible in your understanding.
When you can't get any further…
Read the explanatory notes in the textbook, and look up any unknown words. Study the dialogue until you understand 100% of what's going on.
This part is familiar. It's the “study” bit.
But it doesn't end there…
Far from it…
Time Spent On This: Depends on the difficulty, but usually no more than 3 days.
Step 3: Processing
Having “studied” the dialogue, now you need it to sink in!
You see, most people think that once they've “studied” something, they're done!
But it doesn't work like that.
Do you remember in school how you had to write history essays?
As you were writing the essay, do you remember how many times you had to go back through the books, checking facts and events, in order to make sure you got it right?
How much deeper was your understanding of that period in history after having to write about it?
A lot deeper.
You see, it's not the studying of the textbooks that teaches you things. It's the work you do afterwards that helps you consolidate it.
And it's the same with language and dialogue.
You've got to go and do things with the language you learn in order for it to sink in.
So what's the language equivalent of writing a history essay?
Two things:
Continued Listening: Over the days to come, keep listening to the dialogue audio in your free time. Every day you'll bring a pair of fresh ears, and you'll be surprised how much you forget. Coming back to it forces your brain to recall the information it needs to understand.
Copy out the dialogue: This is a trick I learnt from my friend Richard Simcott from Speaking Fluently. Richard likes to copy dialogues from the textbook into his notebook, word for word. Why? Having tried it, I know why. It's simply a different way of processing the text. It involves some physical movement and helps get it out of your head and into the physical world. I find that by simply going through this process of writing, you bring more attention to what you're learning, and it sinks in faster.
Time Spent On This: 2-3 days
Step 4: Ownership
By now, you'll probably feel like you've got a good handle on the dialogue.
Indeed, you might be happy with this level of understanding.
But there's still more you can do if you want to take ownership of the language you've learnt, so you can use it actively in conversation (not just understand it when you hear it).
This is the hardest part, but here's how I do it…
Flashcards for new vocabulary: I like to select some words and phrases that I think are going to be very useful, and put them into flashcards. Not only does this help me keep my “priority” vocabulary in one place, but it helps me to easily revise it over the weeks to come and commit it to long-term memory.
Speaking: I like to share the dialogues I'm studying with my tutor, and use our time together to practise the things I've learnt. Try to always link what you're studying with opportunities to speak, as it's the fastest way to reveal the gap between what you think you know, and what you actually know!
Reverse Translation: This is one of my favourite activities, but also very tough to do! It tests not only your ability to understand the dialogue, but the extent to which you've learnt it… and there's nowhere to hide! Step 1: Translate the dialogue into English. Step 2: Cover the original. Step 3: Translate the English back into the target language. Step 4: Compare the two versions. See here for complete instructions.
Time Spent On This: Speaking and reverse translation, 2-3 days. Flashcards, ongoing.
Start Using Dialogues To Study
I follow the basic approach outlined above for each of the textbook dialogues I studied.
However, it might not always be right for you to do this in so much depth.
If you find the appropriate language dialogue examples for your level, or in a familiar language, you can probably get away with less. (For example, flashcards or reverse translation might not be necessary.)
Try it out, notice what's working (and what's not), and always remember to adjust what you're doing to best fit how you learn.
Olly Richards
Creator of the StoryLearning® Method
Olly Richards is a renowned polyglot and language learning expert with over 15 years of experience teaching millions through his innovative StoryLearning® method. He is the creator of StoryLearning, one of the world's largest language learning blogs with 500,000+ monthly readers.
Olly has authored 30+ language learning books and courses, including the bestselling "Short Stories" series published by Teach Yourself.
When not developing new teaching methods, Richards practices what he preaches—he speaks 8 languages fluently and continues learning new ones through his own methodology.
Which language are you learning?
What is your current level in [language]?
Which language are you learning?
What is your current level in [language]?
Which language are you learning?
What is your current level in [language]?
Which language are you learning?
What is your current level in [language]?
Which language are you learning?
What is your current level in [language]?
Which language are you learning?
What is your current level in [language]?
Which language are you learning?
What is your current level in [language]?
Which language are you learning?
What is your current level in [language]?
Download Your Free StoryLearning Fluency Blueprint!
Discover the world famous story-based method that 1,023,037 people have used to learn a language quickly…
Which language are you learning?
What is your current level in [language]?
Which language are you learning?
What is your current level in [language]?
Which language are you learning?
What is your current level in [language]?
Download this article as a FREE PDF?
What is your current level in Latin?
Download this article as a FREE PDF?
What is your current level in Norwegian?
Download Your Free StoryLearning Fluency Blueprint!
Discover the world famous story-based method that 1,023,037 people have used to learn a language quickly…
Which language are you learning?
What is your current level in [language]?
Download this article as a FREE PDF?
What is your current level in Swedish?
Download this article as a FREE PDF?
What is your current level in Danish?
Which language are you learning?
What is your current level in [language]?
Download this article as a FREE PDF?
Download this article as a FREE PDF?
What is your current level in Arabic?
FREE StoryLearning Fluency Blueprint!
Join my email newsletter and get FREE access to your StoryLearning Fluency Blueprint. Discover how to learn languages through the power of story!
Which language are you learning?
What is your current level in [language]?
Download a FREE Story in Japanese!
Enter your email address below to get a FREE short story in Japanese and start learning Japanese quickly and naturally with my StoryLearning® method!
What is your current level in Japanese?
Download Your FREENatural Japanese Grammar Pack
Enter your email address below to get free access to my Natural Japanese Grammar Pack and learn to internalise Japanese grammar quickly and naturally through stories.
What is your current level in Japanese?
What is your current level in Portuguese?
What is your current level in German?
Train as an Online Language Teacher and Earn from Home
The next cohort of my Certificate of Online Language Teaching will open soon. Join the waiting list, and we’ll notify you as soon as enrolment is open!
Train as an Online Language Teacher and Earn from Home
The next cohort of my Certificate of Online Language Teaching will open soon. Join the waiting list, and we’ll notify you as soon as enrolment is open!
Download this article as a FREE PDF?
What is your current level in Portuguese?
Download this article as a FREE PDF?
What is your current level in Portuguese?
Download this article as a FREE PDF?
What is your current level in Turkish?
What is your current level in French?
What is your current level in Italian?
What is your current level in German?
What is your current level in Japanese?
Download Your FREEJapanese Vocab Power Pack
Enter your email address below to get free access to my Japanese Vocab Power Pack and learn essential Japanese words and phrases quickly and naturally. (ALL levels!)
What is your current level in Japanese?
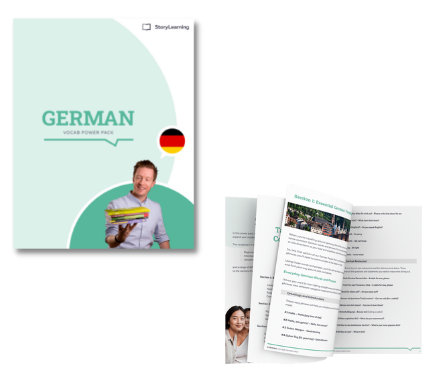
Download Your FREE German Vocab Power Pack
Enter your email address below to get free access to my German Vocab Power Pack and learn essential German words and phrases quickly and naturally. (ALL levels!)
What is your current level in German?
Download Your FREE Italian Vocab Power Pack
Enter your email address below to get free access to my Italian Vocab Power Pack and learn essential Italian words and phrases quickly and naturally. (ALL levels!)
What is your current level in Italian?
Download Your FREEFrench Vocab Power Pack
Enter your email address below to get free access to my French Vocab Power Pack and learn essential French words and phrases quickly and naturally. (ALL levels!)
What is your current level in French?
What is your current level in Portuguese?
What is your current level in Russian?
What is your current level in Russian?
What is your current level in Italian?
What is your current level in Italian?
What is your current level in French?
What is your current level in French?
What is your current level in Spanish?
What is your current level in Spanish?
What is your current level in Spanish?
What is your current level in Arabic?
What is your current level in Portuguese?
What is your current level in Turkish?
What is your current level in Korean?
What is your current level in Russian?
What is your current level in Japanese?
What is your current level in Chinese?
What is your current level in Spanish?
What is your current level in Italian?
What is your current level in French?
What is your current level in German?
Download Your FREENatural Portuguese Grammar Pack
Enter your email address below to get free access to my Natural Portuguese Grammar Pack and learn to internalise Portuguese grammar quickly and naturally through stories.
What is your current level in Portuguese?
Download Your FREENatural Russian Grammar Pack
Enter your email address below to get free access to my Natural Russian Grammar Pack and learn to internalise Russian grammar quickly and naturally through stories.
What is your current level in Russian?
Download Your FREENatural German Grammar Pack
Enter your email address below to get free access to my Natural German Grammar Pack and learn to internalise German grammar quickly and naturally through stories.
What is your current level in German?
Download Your FREENatural French Grammar Pack
Enter your email address below to get free access to my Natural French Grammar Pack and learn to internalise French grammar quickly and naturally through stories.
What is your current level in French?
Download Your FREENatural Italian Grammar Pack
Enter your email address below to get free access to my Natural Italian Grammar Pack and learn to internalise Italian grammar quickly and naturally through stories.
What is your current level in Italian?
Download a FREE Story in Portuguese!
Enter your email address below to get a FREE short story in Brazilian Portuguese and start learning Portuguese quickly and naturally with my StoryLearning® method!
What is your current level in Portuguese?
Download a FREE Story in Russian!
Enter your email address below to get a FREE short story in Russian and start learning Russian quickly and naturally with my StoryLearning® method!
What is your current level in Russian?
Download a FREE Story in German!
Enter your email address below to get a FREE short story in German and start learning German quickly and naturally with my StoryLearning® method!
What is your current level in German?
Download a FREE Story in Italian!
Enter your email address below to get a FREE short story in Italian and start learning Italian quickly and naturally with my StoryLearning® method!
What is your current level in Italian?
Download a FREE Story in French!
Enter your email address below to get a FREE short story in French and start learning French quickly and naturally with my StoryLearning® method!
What is your current level in French?
Download a FREE Story in Spanish!
Enter your email address below to get a FREE short story in Spanish and start learning Spanish quickly and naturally with my StoryLearning® method!
What is your current level in Spanish?
FREE Download:
The Rules of Language Learning
Enter your email address below to get free access to my Rules of Language Learning and discover 25 “rules” to learn a new language quickly and naturally through stories.
Which language are you learning?
What is your current level in [language]?
Download Your FREESpanish Vocab Power Pack
Enter your email address below to get free access to my Spanish Vocab Power Pack and learn essential Spanish words and phrases quickly and naturally. (ALL levels!)
What is your current level in Spanish?
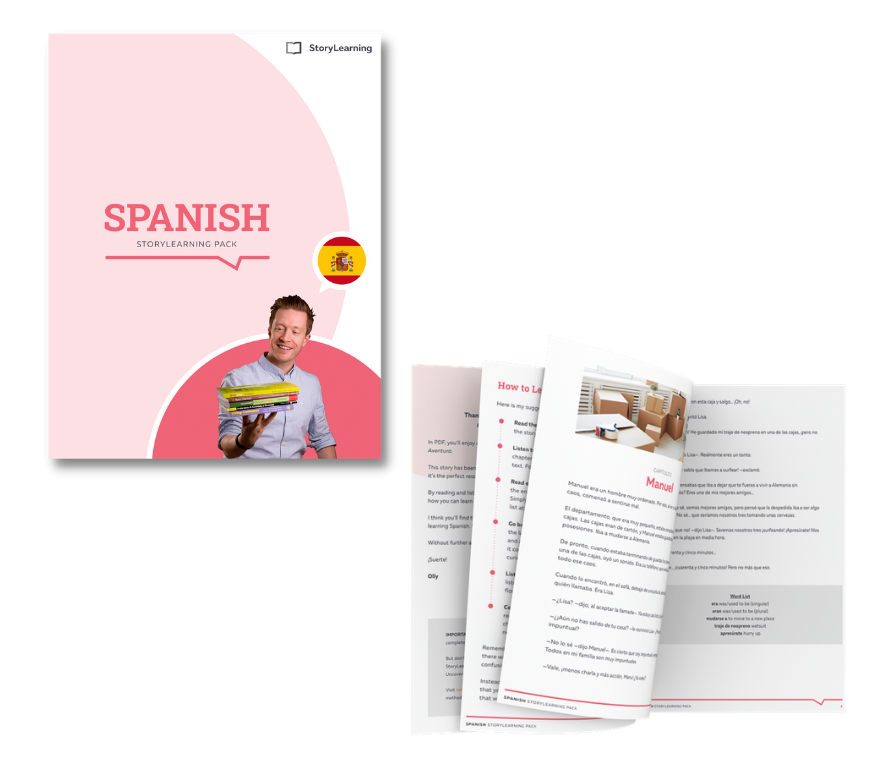
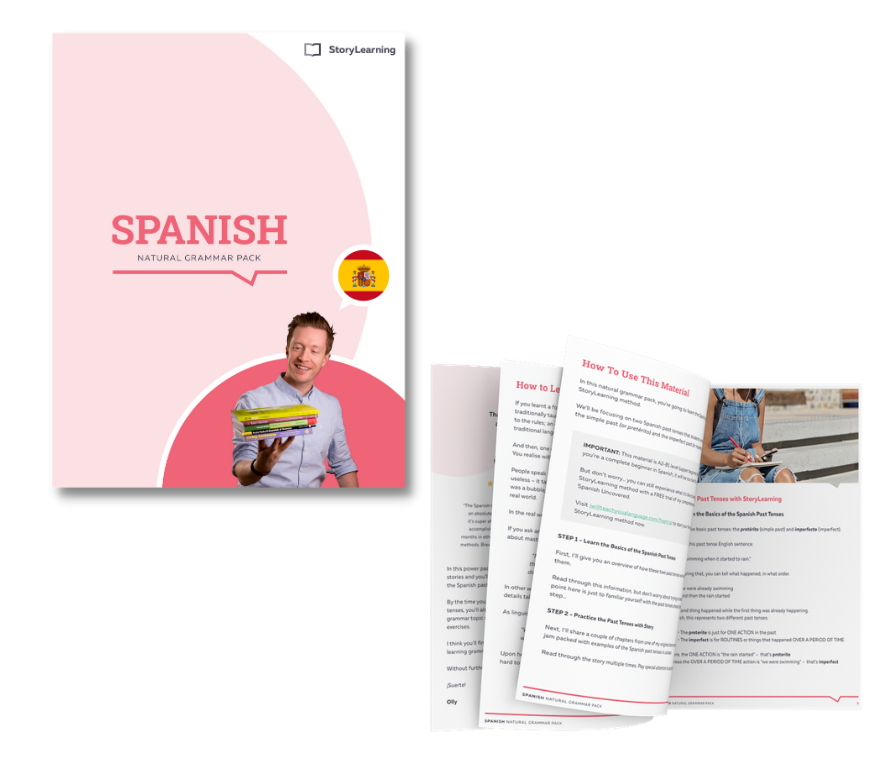
Download Your FREENatural Spanish Grammar Pack
Enter your email address below to get free access to my Natural Spanish Grammar Pack and learn to internalise Spanish grammar quickly and naturally through stories.
What is your current level in Spanish?
Free Step-By-Step Guide:
How to generate a full-time income from home with your English… even with ZERO previous teaching experience.
Download this article as a FREE PDF?
What is your current level in Thai?
Download this article as a FREE PDF?
What is your current level in Spanish?
Download this article as a FREE PDF?
What is your current level in Cantonese?
Download this article as a FREE PDF?
What is your current level in Russian?
Download this article as a FREE PDF?
What is your current level in Korean?
Download this article as a FREE PDF?
What is your current level in Japanese?
Download this article as a FREE PDF?
What is your current level in Italian?
Download this article as a FREE PDF?
What is your current level in German?
Download this article as a FREE PDF?
What is your current level in French?
Steal My Method?
I’ve written some simple emails explaining the techniques I’ve used to learn 8 languages…
Which language are you learning?
What is your current level in [language]?
Which language are you learning?
What is your current level in [language]?
I want to be skipped!
Join 84,574 other language learners getting StoryLearning tips by email…
“After I started to use your ideas, I learn better, for longer, with more passion. Thanks for the life-change!” – Dallas Nesbit
Which language are you learning?
What is your current level in [language]?
Download this article as a FREE PDF?
What is your current level in Chinese?
Which language are you learning?
What is your current level in [language]?
Join 122,238 other language learners getting StoryLearning tips by email…
“After I started to use your ideas, I learn better, for longer, with more passion. Thanks for the life-change!” – Dallas Nesbit
Which language are you learning?
What is your current level in [language]?
Find The Perfect Language Course For You!
Looking for a breakthrough in your language learning?
Complete this short survey to find the perfect course for you!